How to create a blog with Deno and Lume
by furiouzz
8 min read
In my spare time, I love reading articles, writing code and experimenting with new concepts. But one project after another, I realized that most of what I learned had been forgotten.
For these reasons, I decided to create a blog as a way to remember and share my experiments. It is also an opportunity to organize my thoughts and to discipline myself to write on a regular basis.
So, let's start this journey with this first article.
What will we talk about?
Blogging of course 📝!
More importantly we will talk about how to set up a blog and get it running locally.
To get there, we are going to use:
- Deno - a Javascript runtime easy to use and fast to set up
- Lume - a static site generator for Deno
- Simple Blog - a theme for Lume configured for blogging
Creating a blog is a perfect side project to experiment new technologies.
So in this post, we will:
- Create project file structure
- Configure Deno and Lume
- Start a server locally and have a look at blog
- Change blog title and welcome message
- Create a page
- Share data between multiple pages
- Create a post
Now that we know where we are going, let's start!
Create files and directories
In this article, we will call our blog my-awesome-blog ✨. Feel free to name it as you want.
In our targeted file structure, we want to focus on creating content and getting less configurations and scripts as possible.
We will create two directories : .lume/ and content/.
Every code and configuration will be inside .lume directory and all articles and pages inside content directory.
Create files and directories by following the structure below 👇:
my-awesome-blog/
├── .lume/
│   └── config.ts
├── content/
│   ├── posts/
│   │   └── _data.yml
│   └── pages/
│       └── _data.yml
├── _data.yml
└── deno.json
Details about files will be given later in the article.
Install Deno and configure Lume
Now, it is time to open your terminal and install Deno.
What is Deno?
Deno is a Javascript Runtime, similar to Node.js and more recently Bun. It has many advantages like:
- Native support for Typescript and JSX
- Support Web Platform API (like
fetch()andlocalStorage)- Compatible with Node.js and npm
Once Deno is installed, we will edit my-awesome-blog/deno.json file:
// my-awesome-blog/deno.json{ "imports": { "lume/": "https://deno.land/x/lume@v2.0.1/", "blog/": "https://deno.land/x/lume_theme_simple_blog@v0.10.2/" }, "tasks": { "lume": "echo \"import 'https://deno.land/x/lume@v2.0.1/cli.ts'\" | deno run --unstable -A - --config .lume/config.ts", "build": "deno task lume", "dev": "deno task lume -s" } }
Let me explain what is written above:
importsfield is used to configure import maps. This is an useful feature inherited from Web API's importmap to control how Deno resolves module specifiers when importing Javascript modules.tasksfield is used to register scripts.
For example, we can rewrite lume task this way:
// my-awesome-blog/deno.json{ "imports": { "lume/": "https://deno.land/x/lume@v2.0.1/", "blog/": "https://deno.land/x/lume_theme_simple_blog@v0.10.2/" }, "tasks": { "lume": "echo \"import 'https://deno.land/x/lume@v2.0.1/cli.ts'\" | deno run --unstable -A - --config .lume/config.ts", "lume": "echo \"import 'lume/cli.ts'\" | deno run --unstable -A - --config .lume/config.ts", "build": "deno task lume", "dev": "deno task lume -s" } }
Now, we will configure Lume. Let's edit my-awesome-blog/.lume/config.ts
// my-awesome-blog/.lume/config.tsimport lume from "lume/mod.ts"; // Import "lume" import blog from "blog/mod.ts"; // Import "theme-simple-blog" const site = lume({ dest: ".lume/dist" // Change destination directory }); site.use(blog()); // Use "theme-simple-blog" export default site;
As explained before we can directly import Lume with
import lume from "lume/mod.ts"and Simple Blog theme withimport blog from "blog/mod.ts"instead of writing the entire url thanks toimportsfield.
Open your terminal in your my-awesome-blog directory, then run:
$ deno task dev
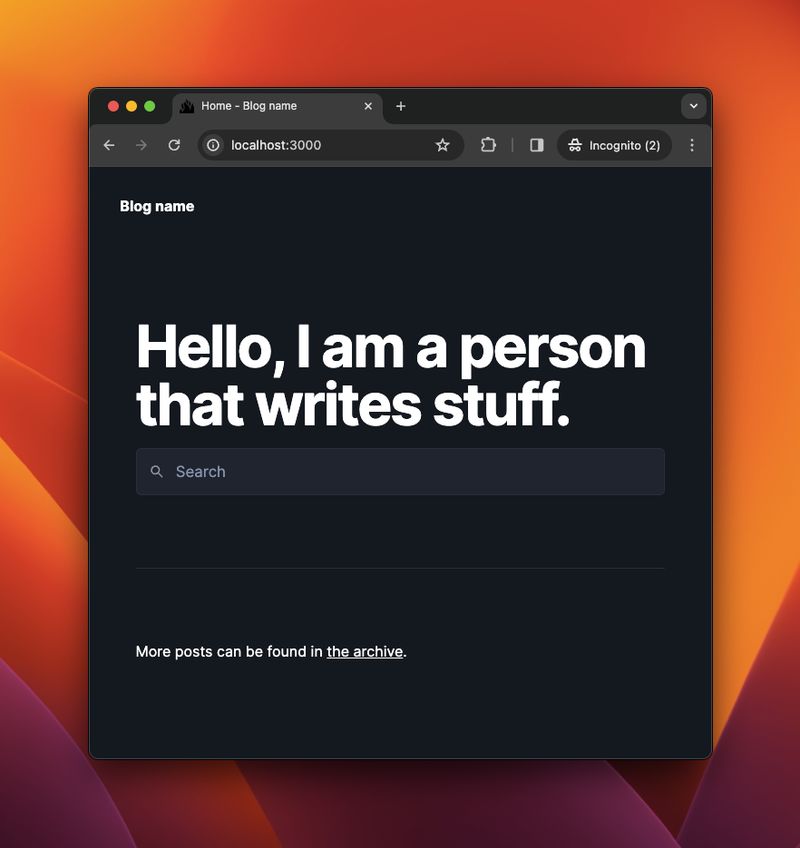
TADA 🎉! Your blog is running (locally) at http://localhost:3000/.
Change title and welcome message
Let's customize this blog with some content.
As you may have noticed, we use Simple Blog theme maintained by Lume creator. To customize this theme, we have to create _data.yml file at the root of our blog directory.
Let's edit my-awesome-blog/_data.yml;
// my-awesome-blog/_data.ymllang: en home: welcome: Hello, I am a person who writes stuff. extra_head: # Metas plugin https://lume.land/plugins/metas/#description metas: site: Blog example description: This is an example of a Lume blog theme twitter: "@misteroom" lang: "=lang"
If you refresh your browser, you have noticed that nothing changed.
What is this
_data.ymlfile?This file stores custom data shared by all pages in a directory. As explained in Lume Documentation, this file can be a
.yml,.json,.jsor.ts. It can even be a directory_datacontaining files.
Simple Blog theme uses a specific data structure to customize the theme.
Let's edit this file again::
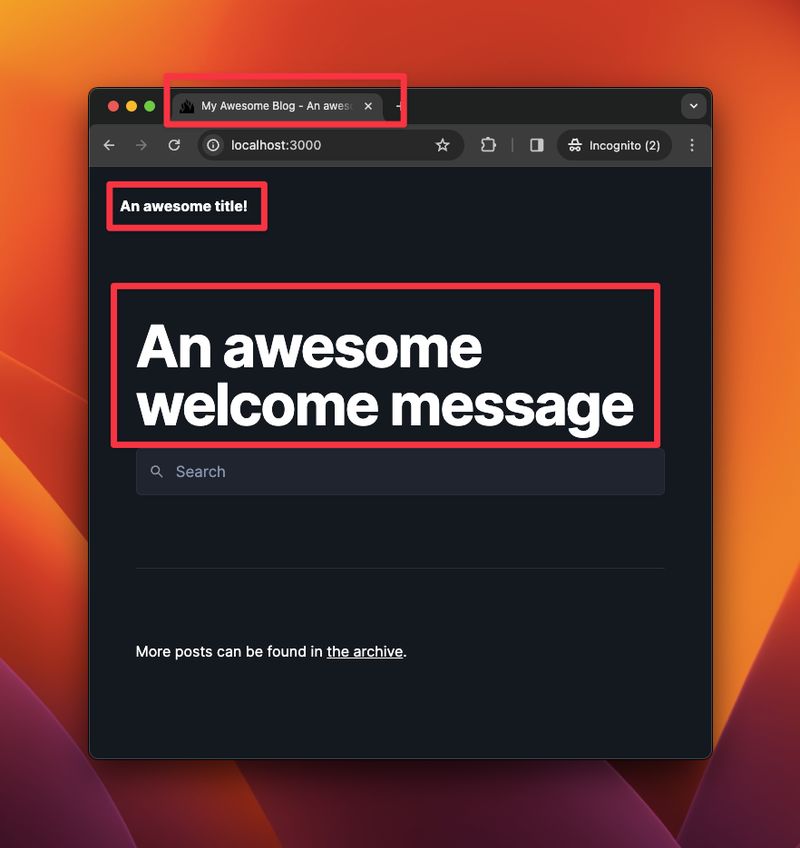
// my-awesome-blog/_data.ymllang: en title: My Awesome Blog home: welcome: Hello, I am a person that writes stuff. welcome: An awesome welcome message # Metas plugin https://lume.land/plugins/metas/#description metas: site: Blog example site: An awesome title! description: This is an example of a Lume blog theme description: An awesome description twitter: "@awesomeuser" lang: "=lang"
Refresh and see:
Create our first page
Let's create an About page at my-awesome-blog/content/pages/about.md and write some text.
// my-awesome-blog/content/pages/about.md--- title: About --- This is an example of an about me page.
This file is divided in two parts:
- The upper part is called frontmatter. This is where we set Page data
- The bottom part is the content of our page written in markdown
Page Data
Similar to
_data.yml, Page data is custom data assigned to a page.Instead of writing data in the frontmatter, you can write it in a separate file matching the page name with an extension
.yml,.json,.tsor.js.eg.: with
about.mdyou can createabout.yml.
Well, We are not ready to see our page yet. You may have noticed that we cannot access our page from the home page.
Simple Blog has a menu which can be enabled by adding the menu object property.
Let's edit our file:
// my-awesome-blog/content/pages/about.md--- title: About menu: visible: true --- This is an example of an about me page.
We made the page visible in the menu.
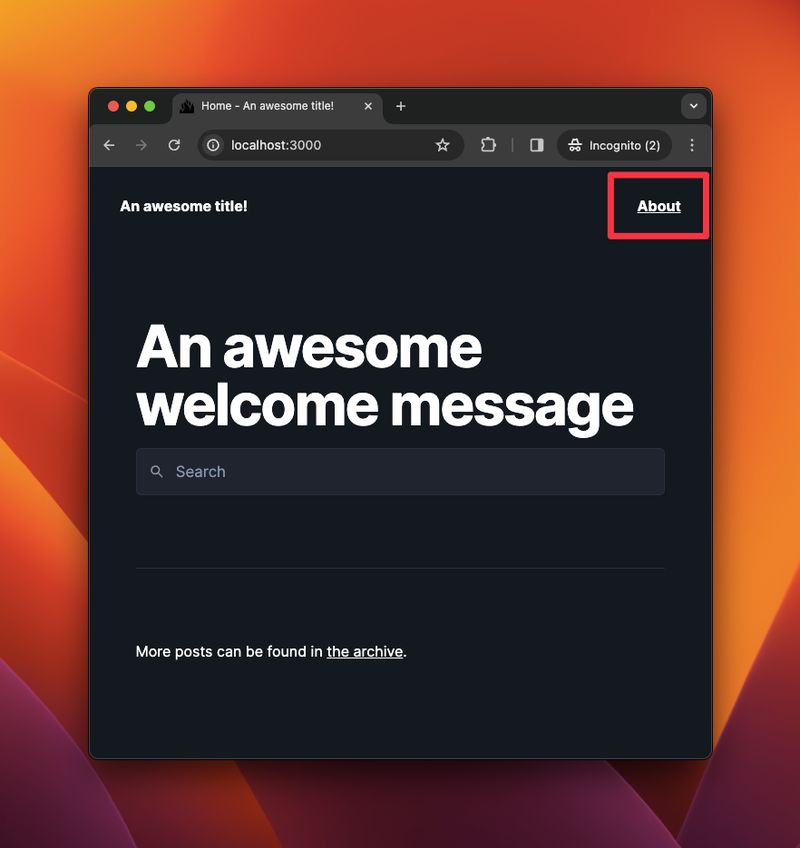
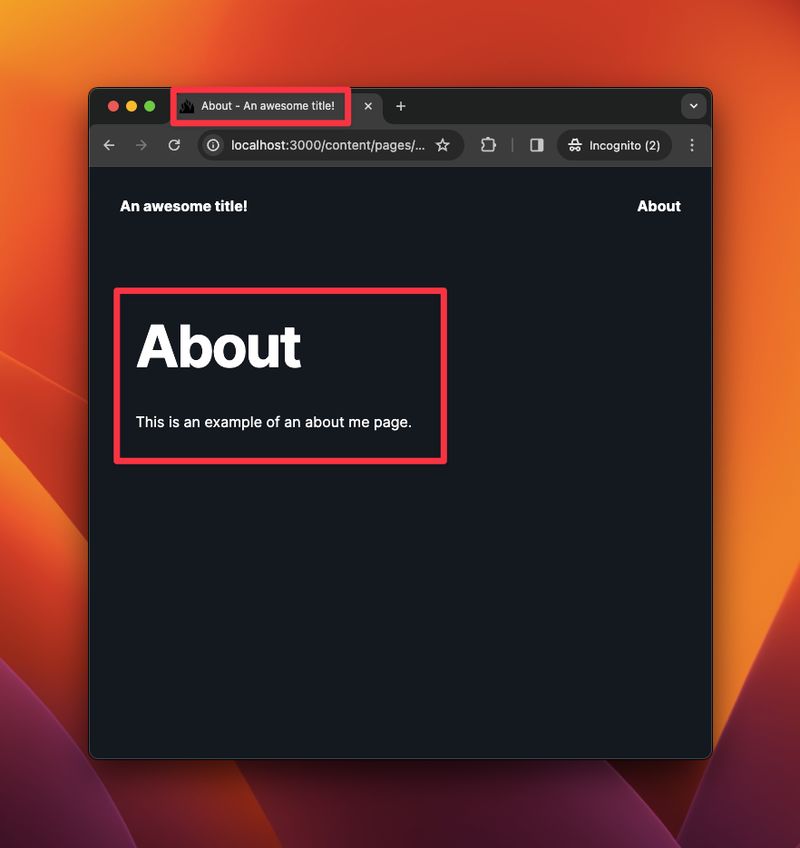
Now, let's visit our page.
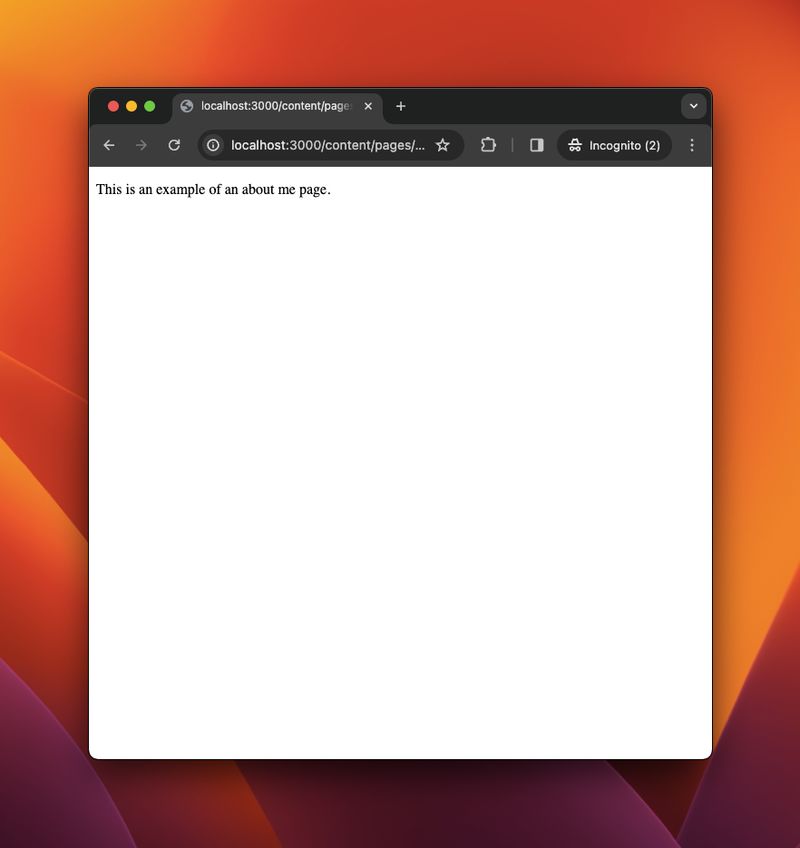
Oh...What happened?
In Lume Documentation, we can configure a layout by page.
Simple Blog has 5 layouts:
base.vto- the default layout shared by all layoutspage.vto- the layout for a pagepost.vto- the layout for a postarchive.vto- the layout for the archive pagearchive_result.vto- the layout for posts sorted by tags and authors
For example if we visit the Simple Blog theme repository, we may notice that our home page is represented by src/index.vto. This page uses base.vto layout.
In Lume, a page can use different format like
.md,.js,.ts. You can even write your page in HTML.htmlor use a template engine like Vento.vto.
We did not specify a layout to our page. We need to set which one to use. Again, let's edit our page:
// my-awesome-blog/content/pages/about.md--- title: "About" menu: visible: true layout: "layouts/page.vto" --- This is an example of an about me page.
TADA 🎉!
Share data with multiple pages
Having to set the layout for every page will become a very repetitive task. Our solution is (as we have seen before), to use Shared data to set defaults properties for every page in a directory.
We have already prepared that file at my-awesome-blog/content/pages/_data.yml.
Let's edit our files:
// my-awesome-blog/content/pages/about.md--- title: "About" menu: visible: true layout: "layouts/page.vto" ---
And edit my-awesome-blog/content/pages/_data.yml:
// my-awesome-blog/content/pages/_data.ymllayout: "layouts/page.vto"
Because I prefer beautiful URLs, I suggest that we use the basename property to remove /content/ from our URL.
Instead of /content/pages/about/ the URL will be formatted as /pages/about/.
// my-awesome-blog/content/pages/_data.ymllayout: "layouts/page.vto" basename: "../pages"
We are getting there!

Create our first post
At this time, it should be easy to create a post.
Let's create one:
// my-awesome-blog/content/posts/2024-01-01.md--- title: First post author: furiouzz tags: - personal --- Here my first post
Then edit my-awesome-blog/content/posts/_data.yml to set default variables for all posts:
// my-awesome-blog/content/posts/_data.ymllayout: layouts/post.vto basename: ../posts type: post
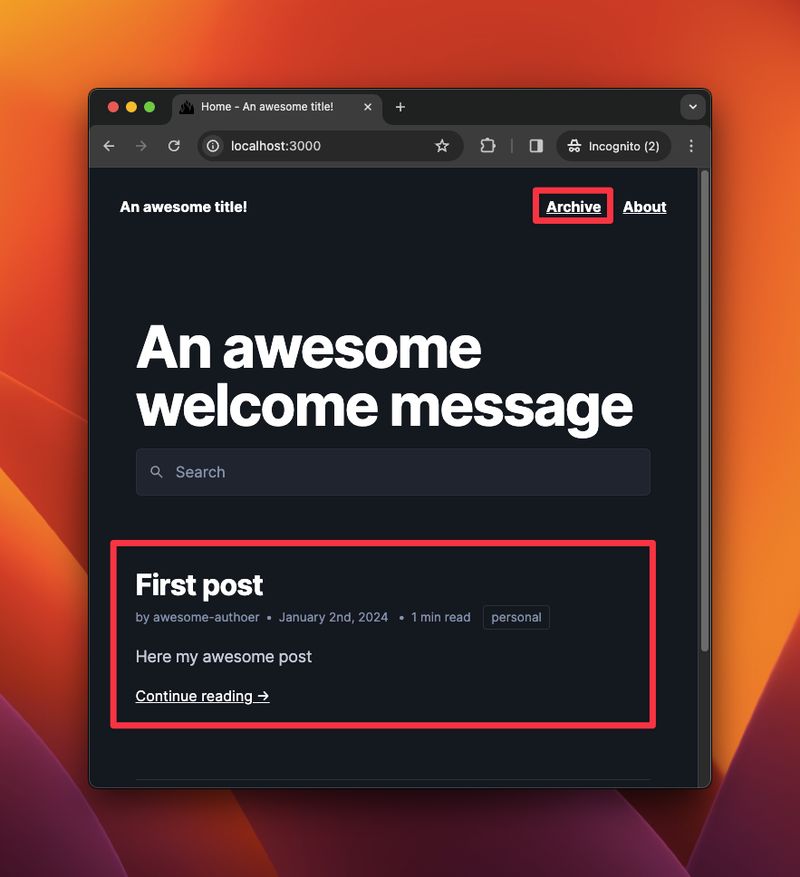
You may have noticed that we added a new property type. Simple Blog theme needs this property to differentiate post from page. Without it, no posts will be displayed on your homepage.
Once you have refreshed your homepage, you will notice two things: your freshly created post and also the Archives item in the menu.
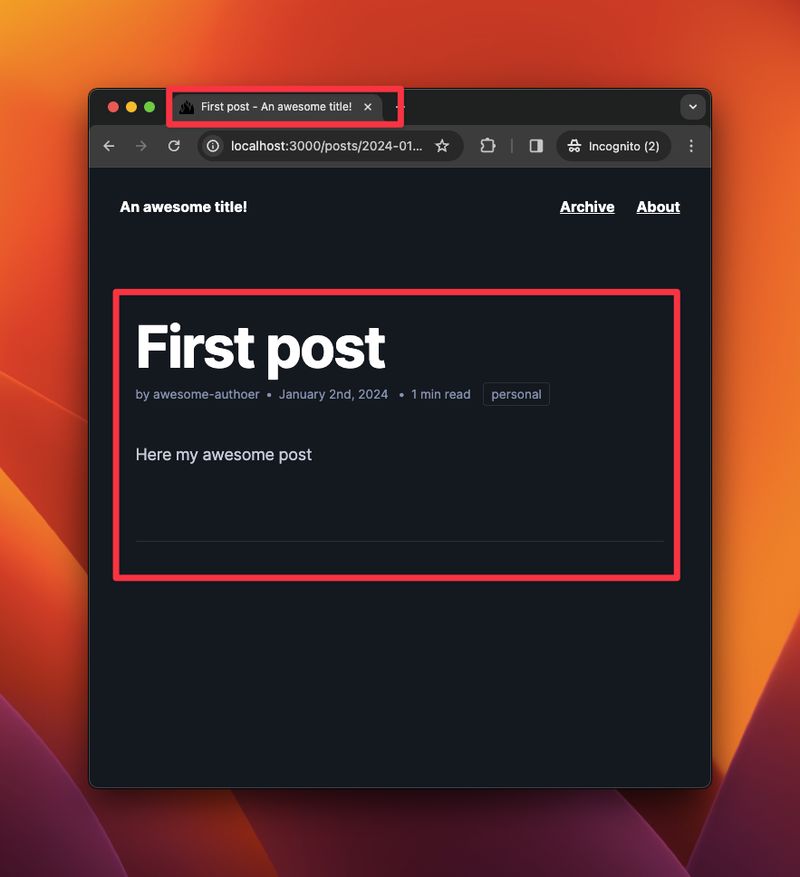
Now, look at the title and content of your first post:
What's next?
In the next post, we will discuss how to deploy our blog with Deno Deploy.
For more information, I invite you to:
- Read Lume documentation
- Fork theme-simple-blog
- Experiment with Deno
Thanks a lot to Tatiana for the help and the feedback in this blog post.